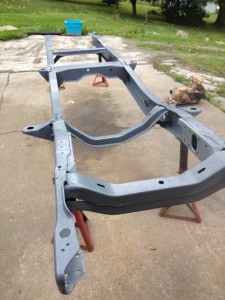
Cracks and more frame damage.

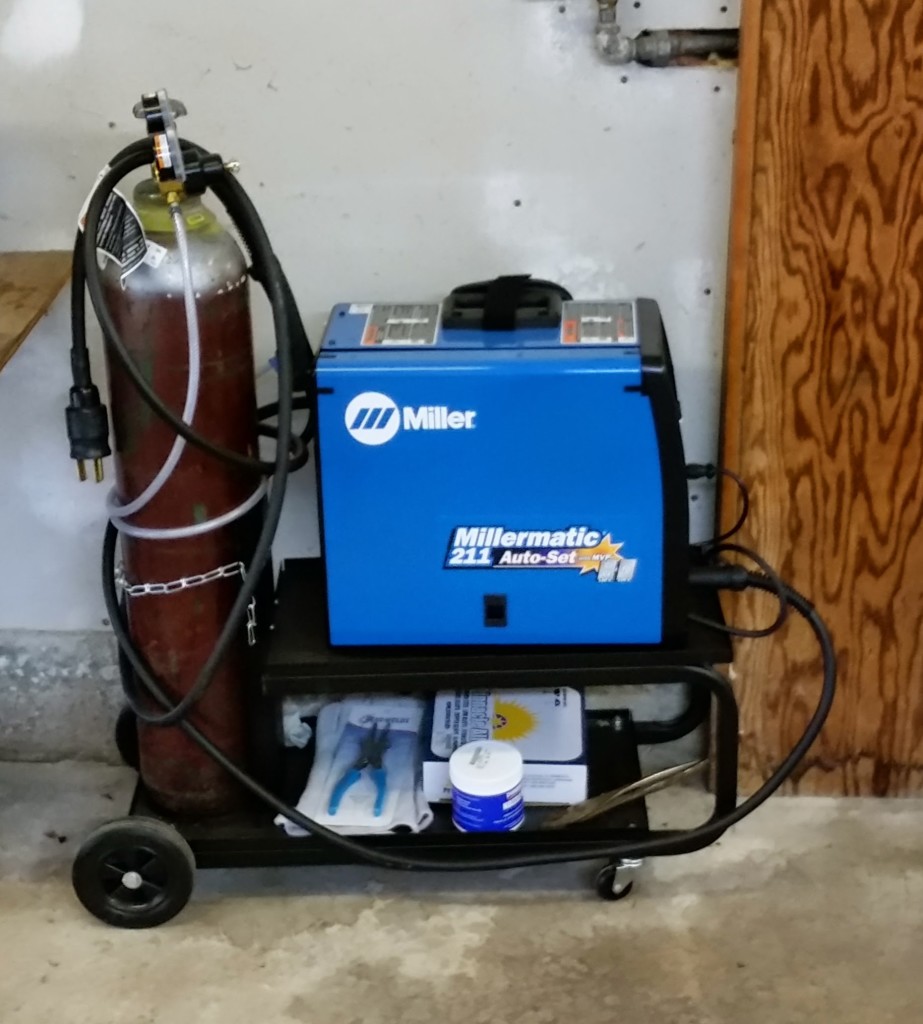
So my dad keeps blaming me that its all my fault he just had to buy a mig welder. The fact that he has wanted one ever since i can remember is apparently irrelevant. However he was quite happy to play with his Christmas present. And yes, my frame is the first thing it was used on. But I’m still not taking responsibility for this one dad.

20141229_123340

The frame has several cracks that will be properly welded and fixed before we get beyond much more than the frame stage. Repairs begin.

20141230_174948

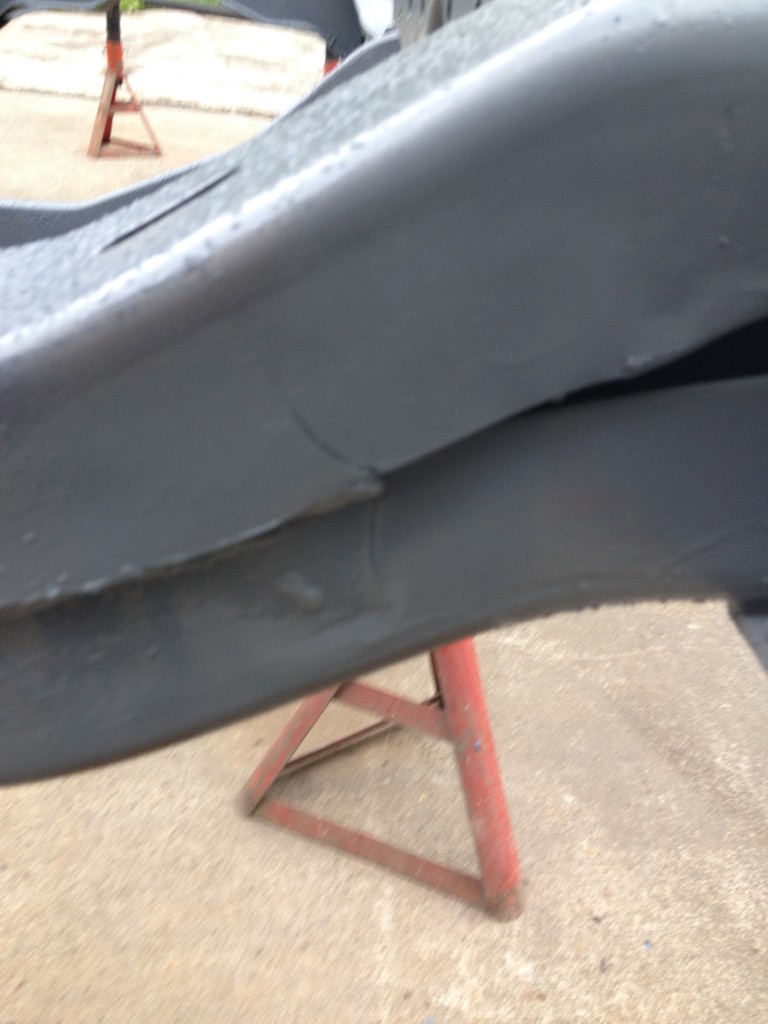
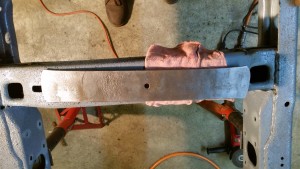
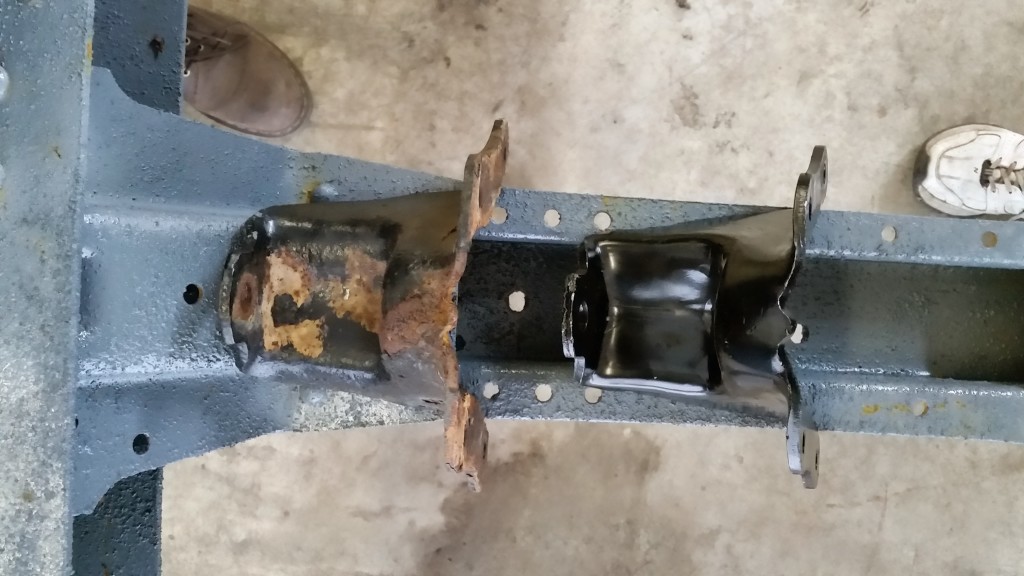
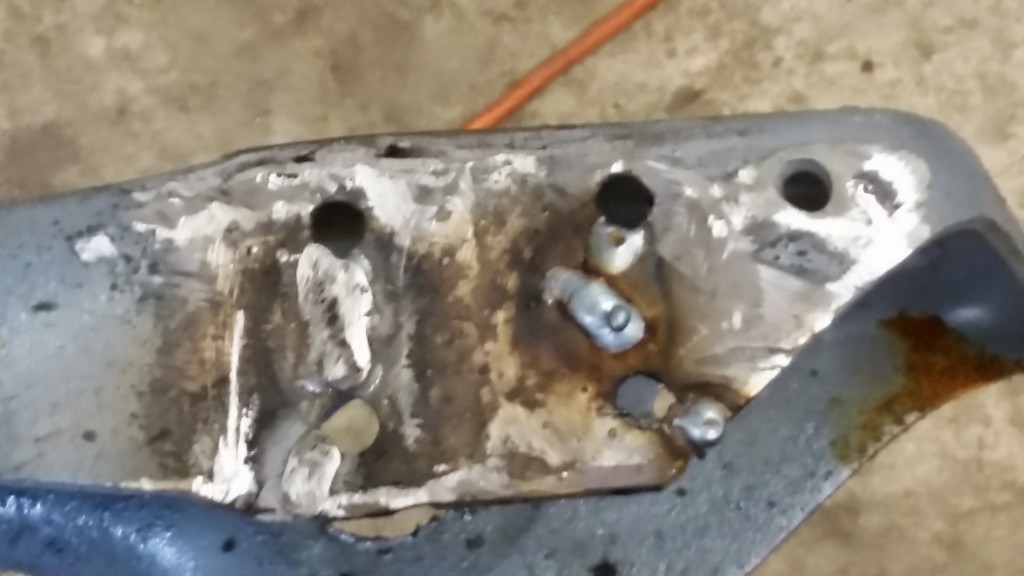
The picture above is where the front spring perch mounts to the truck frame. It was cracked in several places, plus twisted down and in. This was caused by the use of the front cross member (which is not a structural piece) being used to yank the truck out from where ever someone got it stuck.

painted frame 003

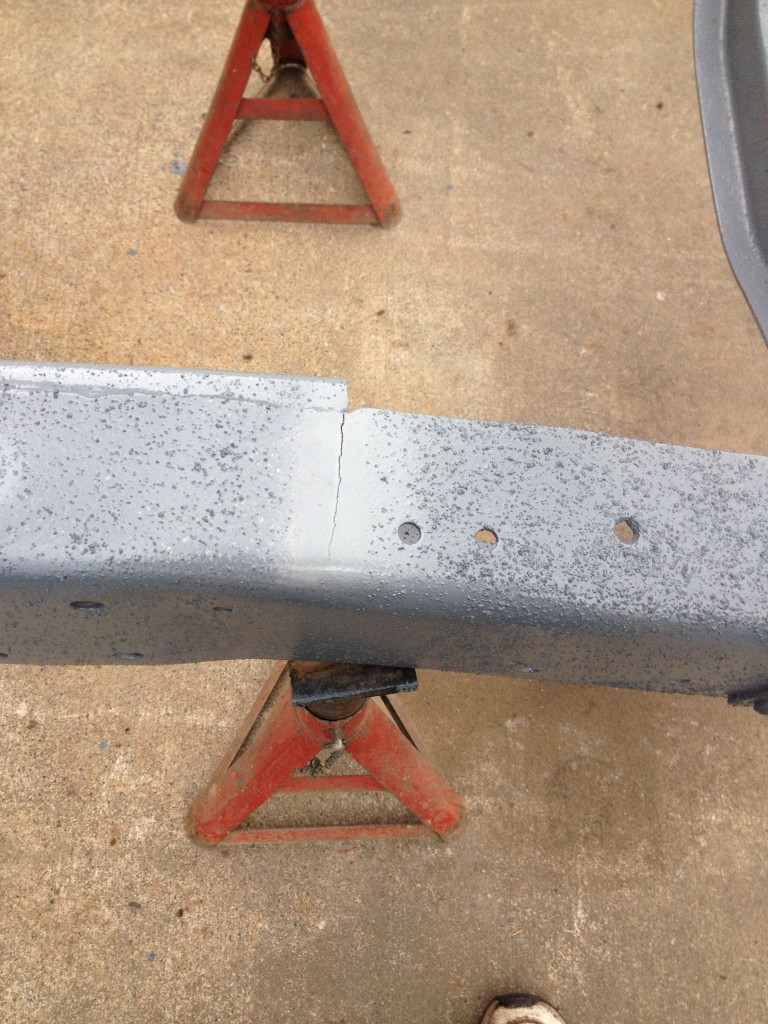
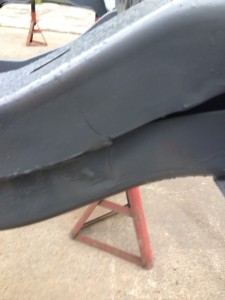
Another crack in the underside of the frame from the frame rail being twisted and bent.

painted frame 004

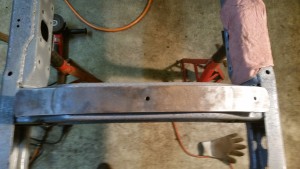
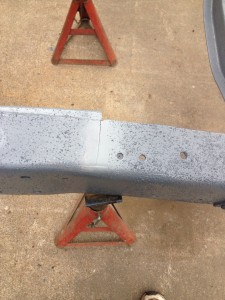
This one was in the cross member that runs below the engine. Again, if your going to pull a truck out from being stuck, pull it out, don’t yank it out, and attach to the frame correctly, and pull straight not cross ways.
Ugly springs, bad springs.

We pulled the front leaf springs from the front axle of the 73 to begin cleaning them so we can mount the front axle from the 78.

20141230_191111 20141230_191030 20141230_191046

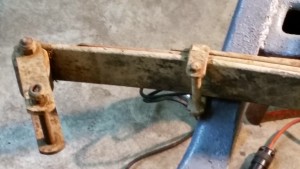
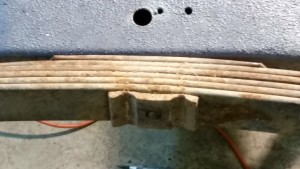
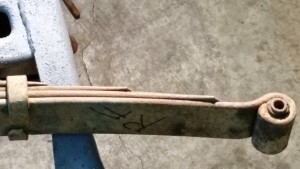
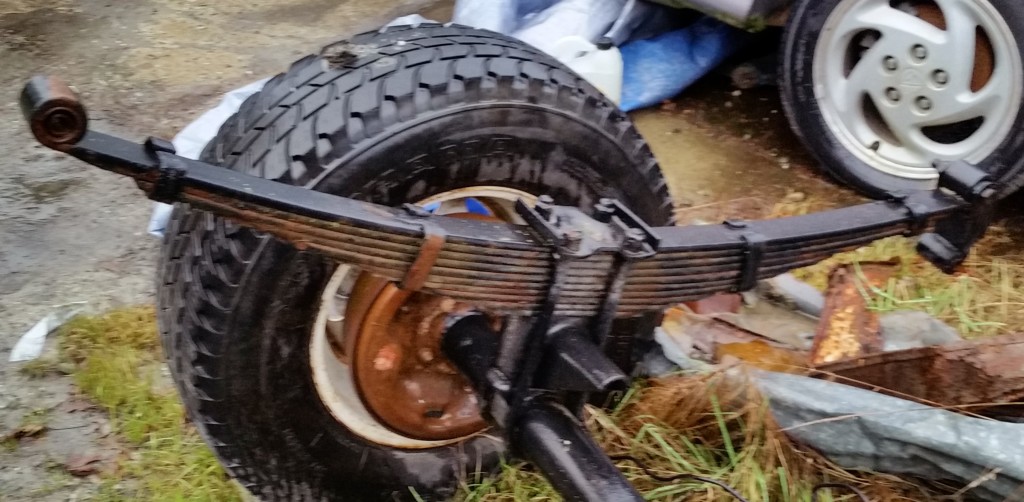
I wasn’t able to get far enough away from the spring to get it into one shot, but this is one of the front springs before dis assembly.

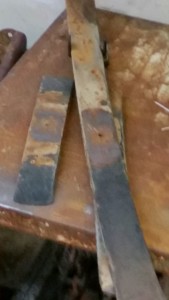
After getting them torn apart, and wire brushing each leaf individually, we found there were groves in the leaves ranging from light indents, to ones on the main spring closer to an eighth to quarter inch deep. A bad thing when the leaves are only about a half inch deep to begin with. Whomever had the truck before me painted springs with a rustolium paint because they thought the rust was ugly. Upon cleaning them there was dirt/rust, then black paint, then more rust, before eventually finding the original metal. The paint had turned into a tar type substance between the leaves, and the leaves instead of flexing, started digging into one another.

Some before and afters:

20141230_191357 20141230_192557

20141230_191214 20141230_195123 20141230_201652


Notice the lines in the spring on the right? that’s where the spring on the left was wearing groves into it. Eventually the springs will need to be replaced, but for now, we will likely just use them to get the frame on wheels so its moveable.

Pressing out the bearings on the main leaf was a chore and a half. They had warn into the gap between the eye and where it wraps back to the spring. It literally took about all of the 20 tons the press jack can put out to get them out. They would make a loud pop noise and move about a quarter to half inch at a time. The spring literally was expanding to let the bushing pass thru the gap in the spring. A bit startling the first time it happened. 😀


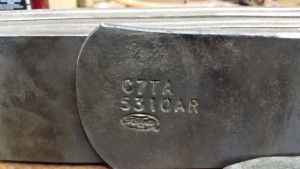
In case anyone was wondering what the original part number for a front leaf spring on a 73 F250 4×4 is its C7TA-5310AR Of course this part number is from a Canadian truck, and i believe its been superseded by another part number in later years. However this was on the spring:

20150102_154028

We didn’t get to pulling the rear springs apart, but just for documentation, they are only 9 leaves tall. They are also a mix of paint and rust and likely in as rough of shape as the front springs were. For now we will leave them as is, until we decide about replacing them.

20150102_151710

Moving inside.

While up on Christmas vacation, I spent some time with dad on the truck. We cleaned out the shop and got the frame inside, and started with mounting the new spring perches, and started dis assembly and restoration of the front leaf springs. The truck only has 6 front leaves, and nine rear leaves per side.

20141229_123308 20141229_123243

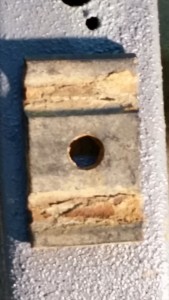
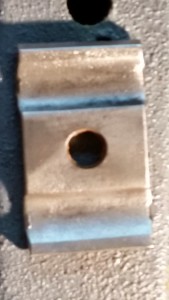
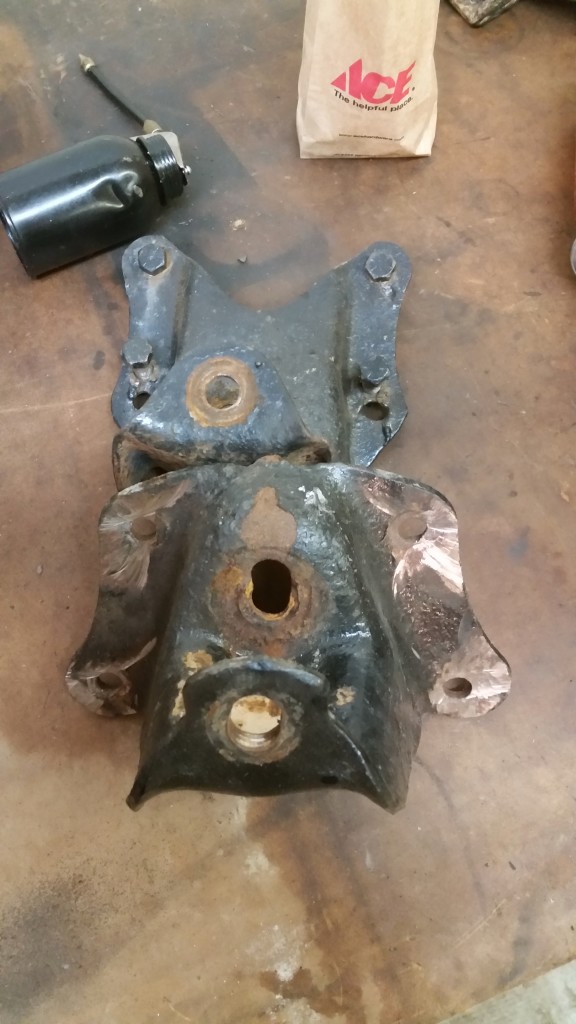
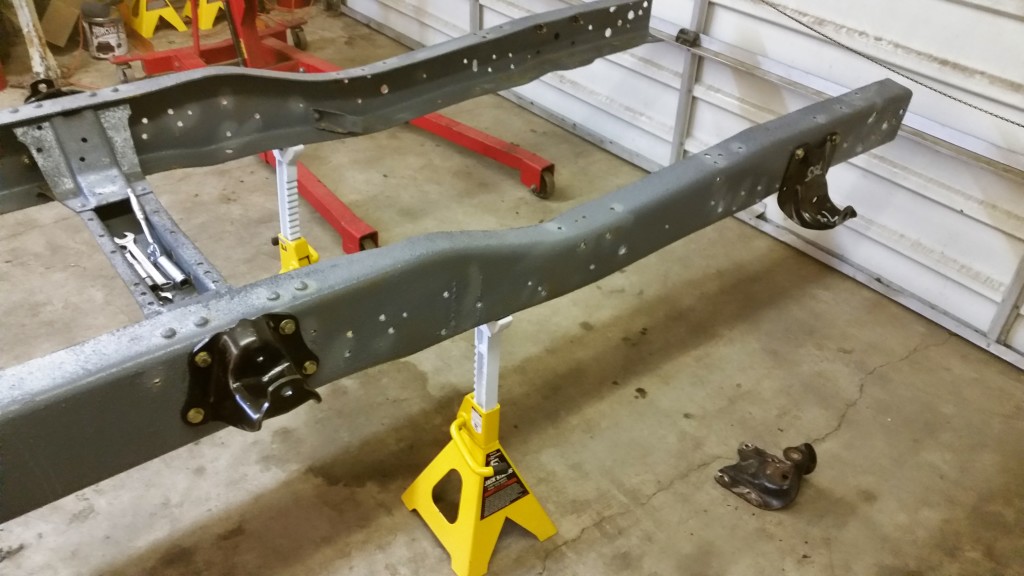
The prior perches needed to be replaced. The bolt holes which should be round were instead oval. Seriously? who does not notice this? I decided it was far better to simply replace all the perches vs try to weld the holes closed, and re drill them correctly.

20141230_202209 20141229_123714

The new perches on the truck. I like the black offsetting the grey. A happy mistake that is working out well. The new perches are bolted with grade 8 bolts, nuts washers and lock washers, loctite’d and torqued to 70 ft lbs. We decided against welding them as well as bolting, because honestly by the time you break these bolts, the truck is going to be having much bigger issues.

20141230_202346


Its been a while.

So its been a while that Ive updated the truck’s progress. We have ordered new perches to mount the springs, as the old ones were elongated from being ran loose. Who drives around with loose spring shackles? Seriously? it must have handled like crap. Anyhow, we now have replacement perches, as well as new bushings for the front and rear springs, new bolt hardware etc. so it will all line up like butter, and work as intended. Ive also ordered the full body mount kit, and if things go well over Christmas break, we may get as far as mounting the cab back to the frame.

There are still some frame cracks to weld, and re undercoat etc. the goals are to get the springs pulled apart, and get them cleaned of rust paint etc. and lube and re mount the springs on the axles,  then get the axles mounted to the frame, the power steering mounted up and aligned right, and pull the things we want to salvage out of the part trucks, and get the rest sent to the scrap yard.  There is going to be more work than time, but hopefully we can get a good start on things.

The build up begins…

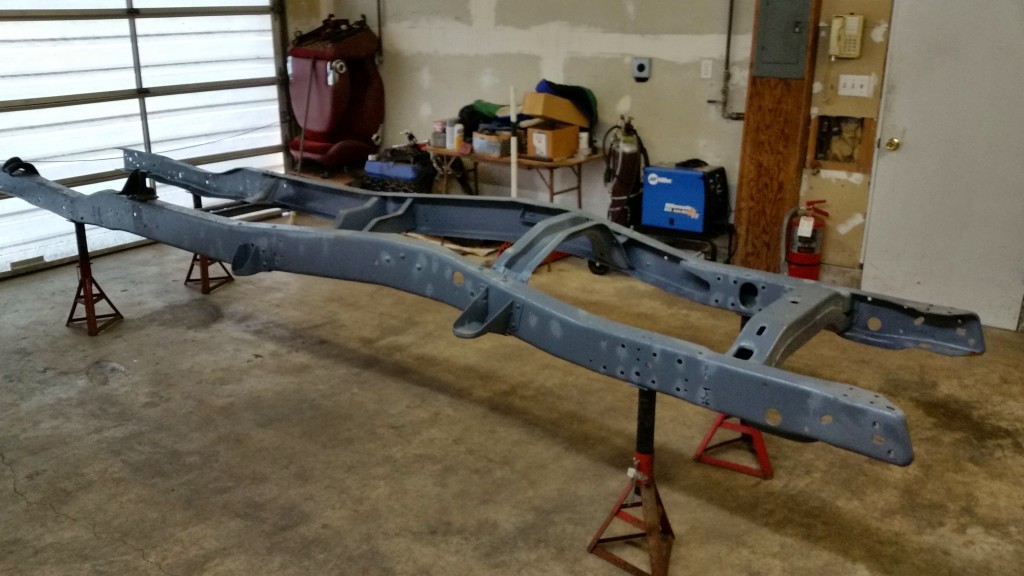
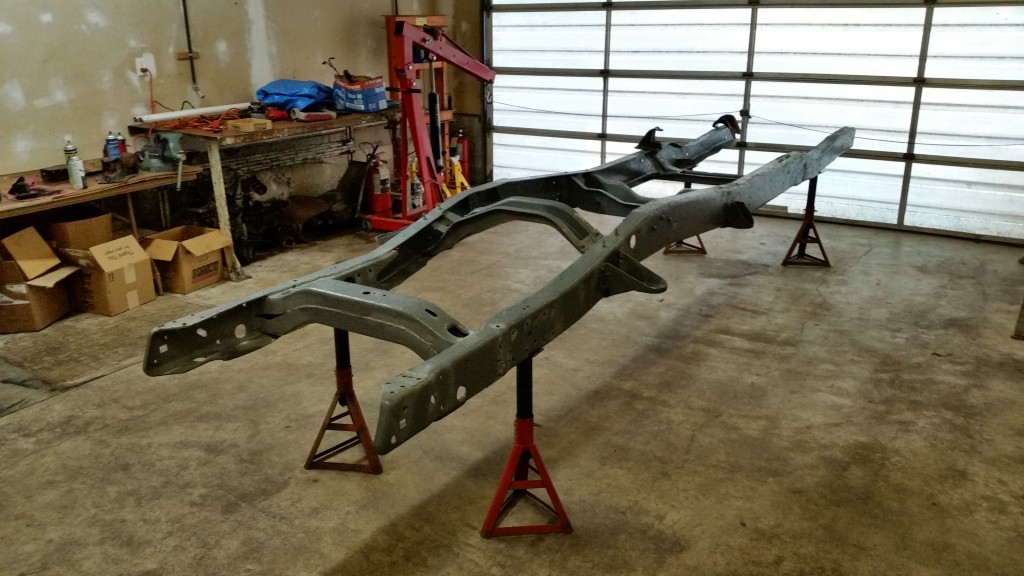
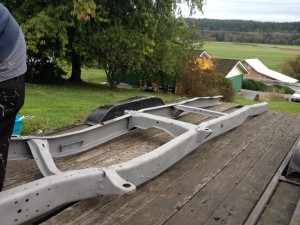
We start with a frame, newly cleaned by sandblasting.

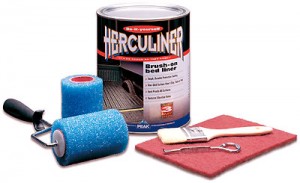
sandblasted frame 001 Then add a touch of Magic Sauce HurculinerTo come up with:

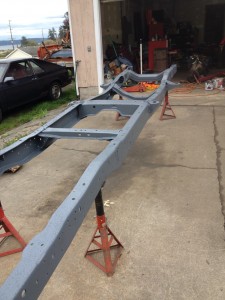
painted frame 002 painted frame 001 painted frame 004 painted frame 003

There are some cracks we will need to grind out and weld up, before the final coat. I thought the Herculiner was going to be black, but i think the gray will work well for the frame. As long as its coated, and not going to rust im happy though.